Introduction to Banana Pudding
The banana pudding recipe is a classic dessert that never goes out of style. Loved for its creamy layers, sweet bananas, and crunchy wafers, this dish has earned its place as a comforting treat in households worldwide. Whether you’re hosting a gathering or simply craving a homemade dessert, this banana pudding recipe is a foolproof choice.
This guide will walk you through an easy-to-follow banana pudding recipe, complete with tips, variations, and answers to common questions. Perfect for beginners, this banana pudding recipe uses simple ingredients and requires minimal effort, making it an ideal dessert for any occasion.

Ingredients for Simple Banana Pudding
To create a flawless banana pudding recipe, you’ll need just a handful of accessible ingredients. The beauty of this banana pudding recipe is in its simplicity, relying on pantry staples and fresh bananas to deliver maximum flavor.
Basic Ingredients:
- Bananas: Fresh and ripe bananas are key to the dessert’s signature flavor.
- Pudding Mix: Instant vanilla pudding mix makes the process quick and easy. For a richer taste, use French vanilla or homemade pudding.
- Milk: Whole milk is preferred for creaminess, but alternatives like almond or oat milk can be used.
- Vanilla Wafers: These add a crunchy texture to complement the soft layers of pudding and bananas.
Optional Additions:
- Whipped Cream: Top the pudding with whipped cream for a light, airy finish.
- Caramel Drizzle: Add a sweet and slightly salty layer for a twist.
- Fresh Fruits: Incorporate sliced strawberries or blueberries for additional flavor and color.
Ingredient Substitutions:
If you want a healthier or plant-based option, you can easily swap out ingredients:
- Plant-Based Milk: Use almond, soy, or coconut milk instead of dairy.
- Gluten-Free Wafers: For those with gluten sensitivities, there are gluten-free wafer options available.
With these ingredients in hand, you’re well on your way to creating a delightful dessert that’s sure to impress.
Essential Equipment for Banana Pudding
To make banana pudding seamlessly, you’ll need some basic kitchen tools. Fortunately, this dessert doesn’t require any fancy gadgets, making it perfect for beginners. Here’s a list of essential equipment to help you prepare and assemble your pudding like a pro:
Must-Have Tools:
- Mixing Bowls: Use large bowls to mix the pudding and layer the ingredients. Glass bowls work well, as they allow you to see the dessert’s layers if serving in a trifle dish.
- Whisk: A sturdy whisk ensures the pudding mix combines smoothly with the milk for a lump-free texture.
- Slicing Knife: A sharp knife is crucial for slicing bananas into even, thin rounds that are visually appealing and easy to layer.
- Measuring Cups: Accuracy is key for the perfect consistency of your pudding, so use measuring cups to get the right ratios of milk and pudding mix.
Optional Tools for Convenience:
- Electric Mixer: If you’re making homemade pudding or using heavy cream for whipped topping, an electric mixer can save time and effort.
- Piping Bag: For a polished look, use a piping bag to layer whipped cream or pudding in individual serving cups.
- Trifle Dish or Serving Glasses: A clear dish or glasses add a decorative touch, showcasing the beautiful layers of bananas, wafers, and pudding.
Having the right equipment ensures that your banana pudding comes together effortlessly and looks as good as it tastes. Once you’ve gathered these tools, you’re ready to dive into the preparation process.
Step-by-Step Instructions

Now that you have all your ingredients and equipment ready, it’s time to assemble your banana pudding. Follow these simple steps to achieve a delicious and visually stunning dessert.
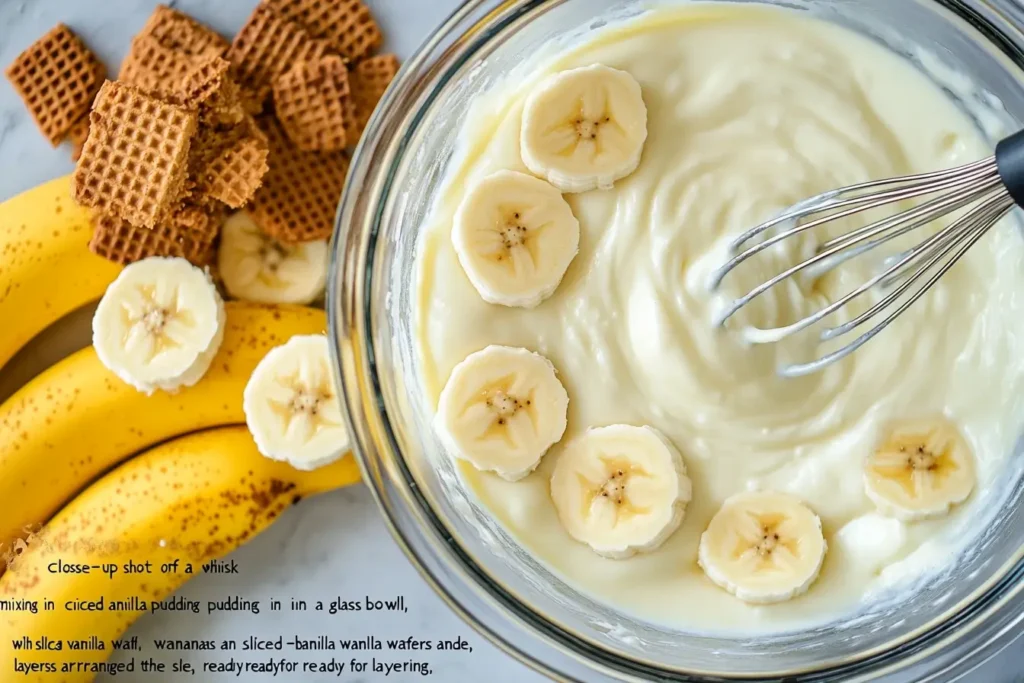
Step 1: Prepare the pudding base by whisking together your instant mix and milk.
- In a large mixing bowl, whisk the instant vanilla pudding mix with cold milk.
- Continue whisking for about 2-3 minutes until the mixture thickens. If you’re using a homemade pudding recipe, ensure it cools to room temperature before proceeding.
- For an extra creamy texture, fold in a dollop of whipped cream.
Step 2: Slice the Bananas
Begin by peeling the bananas and slicing them into thin, uniform rounds. Fresh and ripe bananas work best for this recipe. Aim for evenly sized slices to ensure a balanced flavor in every bite.
Step 3: Layer the Pudding
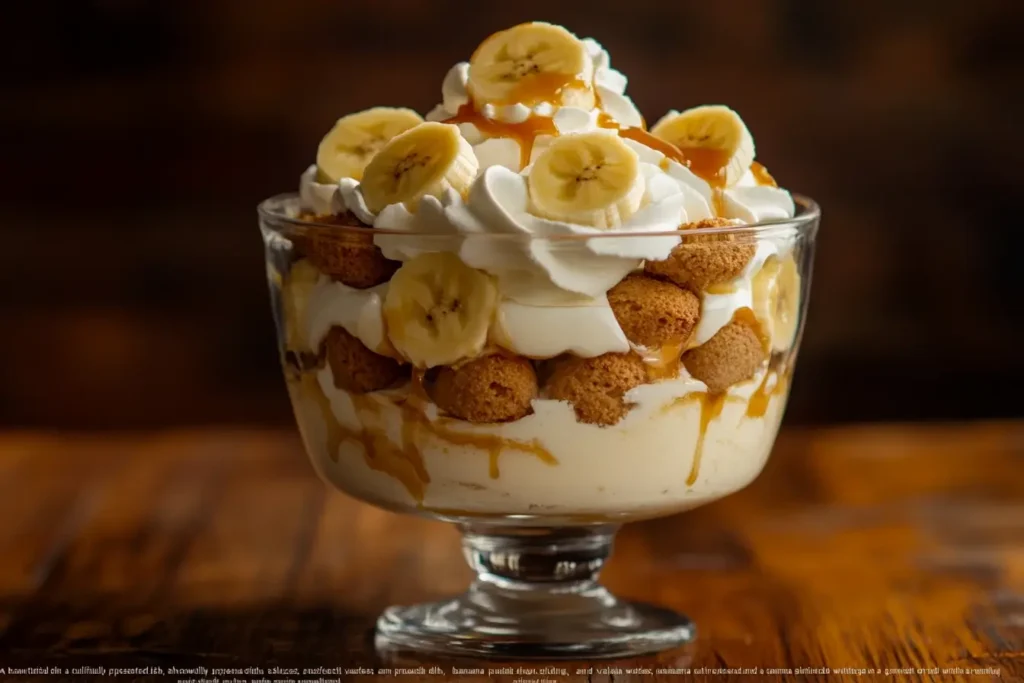
Start assembling your banana pudding by spreading a thin layer of pudding at the bottom of your dish. Next, add a layer of vanilla wafers, followed by a layer of banana slices. Continue layering the pudding, wafers, and bananas until the dish is full, finishing with a final pudding layer on top.
Step 4: Chill the Pudding
Once the layers are complete, cover the dish with plastic wrap and refrigerate it for at least four hours. This chilling time allows the flavors to meld together and the wafers to soften, creating a perfect texture. For the best results, consider refrigerating it overnight.
Step 5: Serve and Enjoy
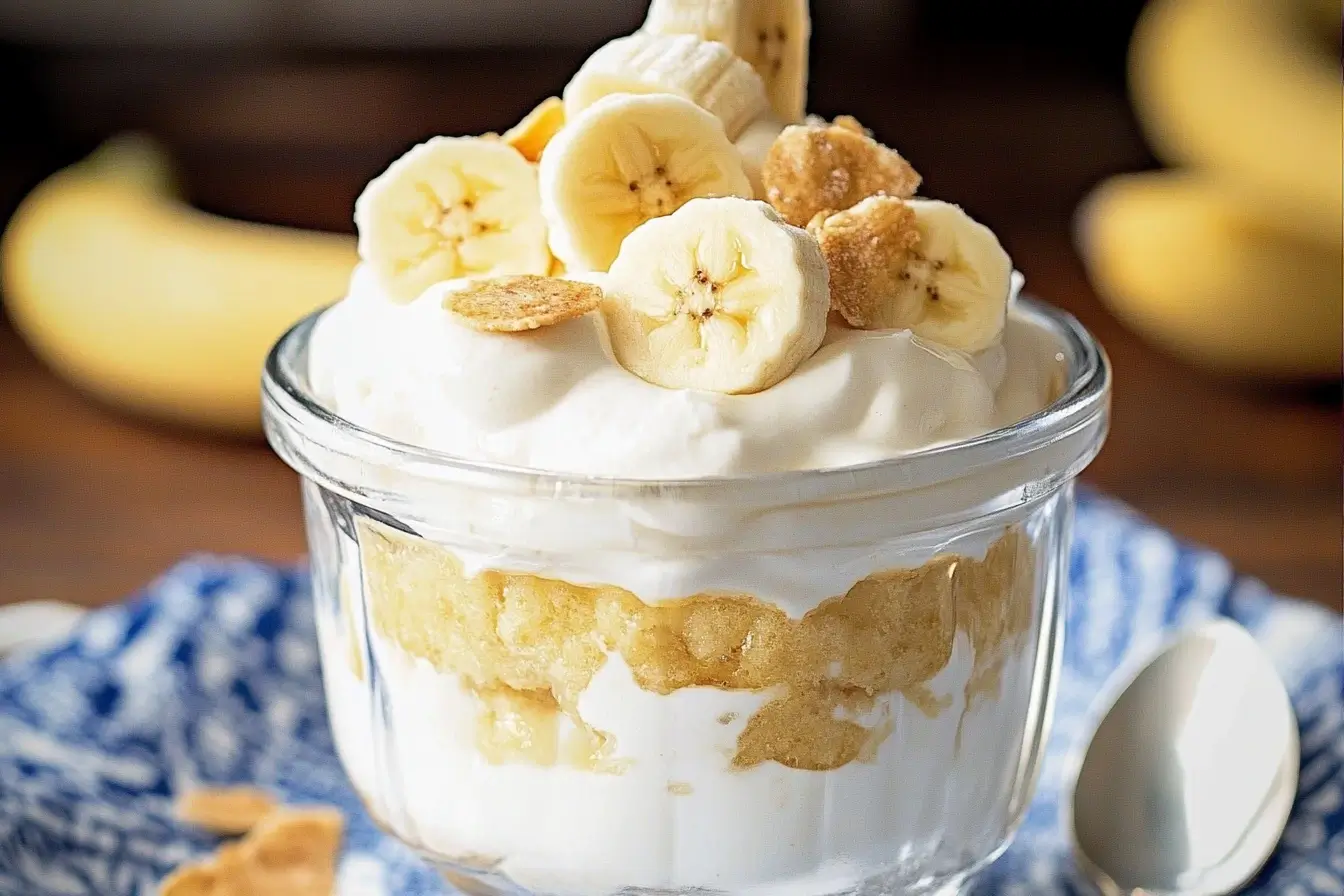
When ready to serve, garnish the top layer with crushed wafers, whipped cream, or caramel drizzle for an extra touch of flavor. Serve in small bowls or individual cups for a polished presentation. Now, sit back and enjoy your homemade banana pudding!
Variations of Banana Pudding
One of the best aspects of banana pudding is its versatility. You can tweak the recipe to suit your dietary preferences or add unique flavors to make it your own. Below are several variations to inspire your creativity.

No-Bake Banana Pudding
If you’re short on time or don’t want to use the oven, this no-bake version is perfect. Simply use instant pudding mix and pre-made wafers, and assemble the dessert as outlined in the step-by-step instructions. The key here is letting the pudding chill long enough for the flavors to meld and the wafers to soften.
Vegan Banana Pudding
For a plant-based version, replace the dairy-based ingredients with vegan alternatives:
- Use almond, soy, or oat milk to make the pudding base.
- Opt for vegan-friendly vanilla wafers or cookies.
- Top with coconut whipped cream for a rich, creamy finish.
This variation ensures that everyone, including those with dietary restrictions, can enjoy the dessert without compromising on flavor.
Individual Banana Pudding Cups
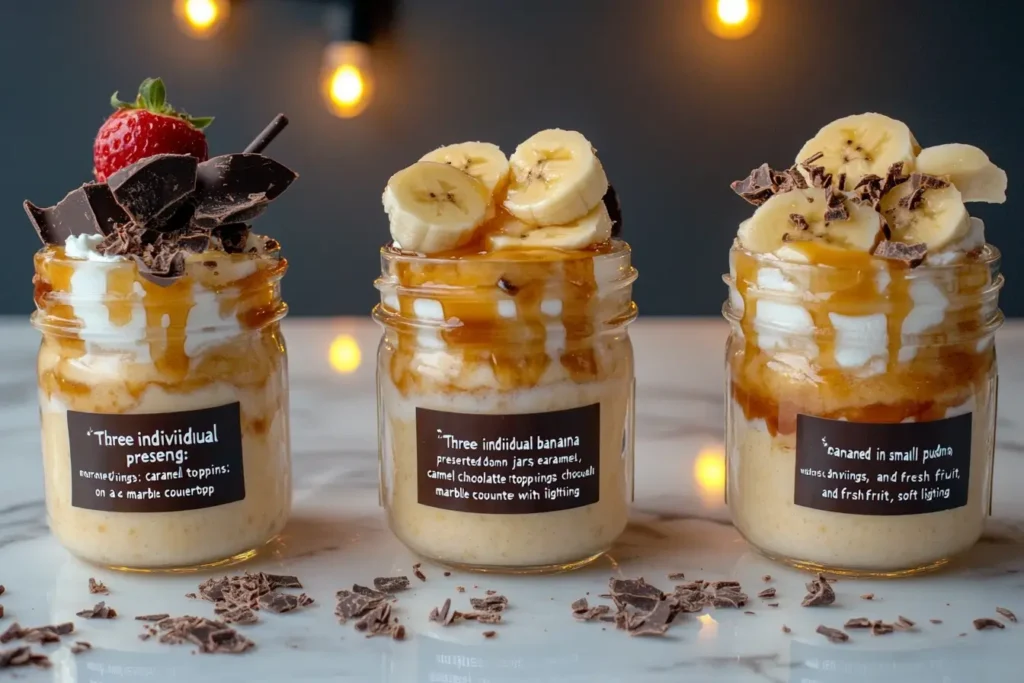
For parties or gatherings, consider making individual pudding cups. These single-serve portions are not only visually appealing but also convenient for guests. Use small glasses, mason jars, or disposable cups to layer the pudding, bananas, and wafers. Garnish each cup with whipped cream and a banana slice for the finishing touch.
Banana Pudding with Caramel or Chocolate
For a decadent twist, incorporate caramel or chocolate into your pudding:
- Caramel Banana Pudding: Drizzle caramel sauce between the layers or on top of the dessert for added sweetness.
- Chocolate Banana Pudding: Use chocolate pudding instead of vanilla or add a layer of shaved chocolate for a rich, indulgent flavor.
These variations are perfect for those looking to elevate the traditional recipe into a gourmet treat.
Healthier Banana Pudding
If you’re watching your calorie intake, you can make a lighter version of banana pudding by:
- Using low-fat or plant-based milk.
- Replacing sugar-laden wafers with whole-grain or reduced-sugar options.
- Adding Greek yogurt to the pudding base for extra protein and creaminess.
With so many variations to choose from, banana pudding can be customized to suit any occasion or preference, making it a dessert that truly everyone can enjoy.
Common Mistakes to Avoid
Even with a simple recipe like banana pudding, a few common pitfalls can affect the final outcome. Avoid these mistakes to ensure your dessert turns out perfectly every time.
1. Overripe or Underripe Bananas
Using overripe bananas can make the pudding too mushy, while underripe bananas may taste bitter or lack sweetness. Aim for bananas that are just ripe, with a bright yellow peel and minimal brown spots.
2. Uneven Layering
Creating uniform layers is essential for both presentation and taste. Uneven layers can result in some portions being too sweet or lacking texture. Take your time when layering the pudding, wafers, and bananas.
3. Not Chilling Long Enough
Banana pudding needs time to set and for the flavors to meld together. Rushing the process may leave you with a runny dessert or wafers that are still too crunchy. Refrigerate the pudding for at least 4 hours, or overnight for the best results.
4. Bananas Turning Brown
Exposed banana slices can oxidize and turn brown, affecting the pudding’s appearance and taste. To prevent this:
- Toss the banana slices in lemon or pineapple juice before layering them in the pudding.
- Ensure the bananas are fully covered by pudding layers to minimize air exposure.
By keeping these tips in mind, you can avoid the most common mistakes and create a flawless banana pudding every time.
Tips for Serving and Storing Banana Pudding
Proper serving and storage can significantly enhance the flavor and texture of banana pudding, ensuring it remains as delightful as the moment you made it. Here are some tips to help you serve and store your dessert like a pro.
Serving Suggestions
- Creative Presentation: Instead of serving banana pudding in a single dish, consider using individual glasses, mason jars, or mini bowls. This creates an elegant presentation and makes portion control easier.
- Garnishes:
- Add a dollop of whipped cream on top just before serving.
- Sprinkle crushed wafers, chopped nuts, or shaved chocolate for added texture and flavor.
- Place a slice of fresh banana or a drizzle of caramel sauce on top for a decorative and appetizing finish.
- Themed Plating: For special occasions like birthdays or holidays, incorporate themed garnishes or serve the pudding in festive containers.
How to Store Banana Pudding
Proper storage is crucial for maintaining the pudding’s taste and texture, especially if you have leftovers or are preparing it in advance.
- Refrigeration:
- Always refrigerate banana pudding. It’s a perishable dessert and must be kept cold to avoid spoiling.
- Store it in an airtight container or cover the dish tightly with plastic wrap to prevent the pudding from absorbing other odors in the fridge.
- Shelf Life:
- Banana pudding is best consumed within 2-3 days of preparation. Over time, the bananas may start to brown, and the wafers may become overly soggy.
- Freezing:
- While freezing is not ideal due to potential texture changes, you can freeze banana pudding if necessary. Use a freezer-safe container and consume it within 1 month. Thaw it in the refrigerator before serving, and note that the wafers may lose their crunch.
Tips for Keeping Bananas Fresh
One of the biggest challenges in banana pudding is preventing the banana slices from turning brown. Follow these tips to keep them fresh and visually appealing:
- Use Acidic Juices: Lightly coat the banana slices with lemon, lime, or pineapple juice. The acidity helps prevent oxidation, which causes browning.
- Cover Completely with Pudding: Ensure that each banana layer is fully covered with pudding. This minimizes air exposure, which is the primary cause of browning.
- Add Bananas at the Last Minute: If you’re prepping the pudding in advance, wait until just before serving to add the banana slices. This ensures they remain fresh and vibrant.
By following these serving and storage tips, you can keep your banana pudding fresh, flavorful, and presentation-ready, whether you’re serving it at a party or enjoying it as a casual dessert.
Nutritional Information
Banana pudding can be as indulgent or as light as you prefer, depending on the ingredients and portion sizes. Here’s a general overview of the nutritional content and ways to make it healthier.
Calories and Macronutrients:
- A standard serving of banana pudding (about 1 cup) contains approximately:
- Calories: 200-300 (depending on the ingredients used)
- Fat: 8-12g (from milk, whipped cream, and wafers)
- Carbohydrates: 35-45g (from bananas, wafers, and pudding mix)
- Protein: 3-5g (mainly from milk)
Healthier Adjustments:
- Lower the Sugar:
- Opt for sugar-free pudding mix or use a natural sweetener like stevia or honey in homemade pudding.
- Choose reduced-sugar or whole-grain vanilla wafers.
- Use Healthier Milk Options:
- Replace whole milk with almond, soy, or oat milk to reduce calories and fat.
- For extra creaminess without added fat, try low-fat Greek yogurt as part of the pudding base.
- Boost the Nutrition:
- Add layers of fresh fruits like strawberries, blueberries, or kiwi for added vitamins and antioxidants.
- Incorporate chia seeds or ground flaxseeds for extra fiber and omega-3 fatty acids.
With these modifications, you can enjoy a more balanced version of banana pudding without sacrificing its classic flavor.
Frequently Asked Questions (FAQs)
Banana pudding is a classic dessert, but you may have questions about its preparation, ingredients, and techniques. Below are detailed answers to some of the most common questions to help you perfect your recipe.
How is pudding made from scratch easy?
Making pudding from scratch can be simple and rewarding, especially when you follow a basic recipe. Here’s how:
- Ingredients: You only need milk, sugar, eggs, cornstarch (or flour), and vanilla extract. These pantry staples are easy to find and affordable.
- Steps:
- Start by heating milk and sugar in a saucepan until warm but not boiling.
- In a separate bowl, whisk together egg yolks and cornstarch to create a thickening agent.
- Gradually temper the egg mixture by adding small amounts of warm milk, whisking continuously to avoid curdling.
- Combine everything in the saucepan and cook over medium heat, stirring constantly until the mixture thickens.
- Remove from heat and add vanilla extract for flavor.
- Convenience: Unlike boxed mixes, making pudding from scratch allows you to control the sweetness and eliminate artificial ingredients. Once prepared, it only needs time to cool before being layered into your banana pudding.
By following this simple process, you’ll create a creamy and flavorful pudding base that elevates your dessert.
What keeps bananas from turning brown in banana pudding?
Bananas are prone to browning due to oxidation, but there are several effective ways to keep them fresh and vibrant:
- Acidic Juices:
- Lightly coat banana slices with lemon, lime, or pineapple juice. The acidity slows the oxidation process, preventing browning.
- If you’re concerned about altering the flavor, use a small amount or opt for pineapple juice, which has a naturally sweeter taste.
- Cover with Pudding:
- Ensure that the banana slices are completely covered by the pudding layers. This creates a barrier that limits exposure to air, which is the primary cause of browning.
- Add Bananas Last:
- Slice and add the bananas just before serving. This minimizes the time they’re exposed to air, keeping them fresher for longer.
With these simple techniques, you can maintain the pudding’s visual appeal and flavor, ensuring a perfect presentation every time.
What is banana pudding made of?
Banana pudding is made from a combination of simple, flavorful ingredients layered together to create a creamy and satisfying dessert. The key components include:
- Bananas: Fresh, ripe bananas provide the signature taste and texture.
- Pudding Base: Traditionally, vanilla pudding is used. This can be made from scratch, using a mix, or substituted with chocolate or caramel pudding for variations.
- Milk: Essential for the pudding base, milk provides creaminess. Dairy alternatives like almond or coconut milk work well in plant-based versions.
- Vanilla Wafers: These cookies add crunch and balance the creaminess of the pudding. Gluten-free or whole-grain alternatives can also be used.
- Whipped Topping: Optional but recommended, whipped cream adds a light and airy finish.
The beauty of banana pudding lies in the balance of its layers. Each component contributes to the dessert’s overall texture and flavor, making it a timeless favorite.
How to make the best instant pudding?
Instant pudding is a convenient and quick option that still delivers delicious results. Here’s how to make the best instant pudding:
- Follow Package Instructions:
- Use cold milk for a smooth texture. Most instant pudding mixes require a ratio of 2 cups of milk per package.
- Whisk the mix and milk together for 2-3 minutes until the pudding thickens.
- Enhance the Flavor:
- Add a splash of vanilla extract for a richer taste.
- For a creamier texture, fold in whipped cream or Greek yogurt after the pudding has set.
- Use Proper Tools:
- A whisk works best for mixing, as it prevents clumps and ensures even consistency.
- Chill Before Use:
- Allow the pudding to set in the refrigerator for at least 5-10 minutes before layering it into your banana pudding.
With these tips, instant pudding can become the perfect foundation for your dessert, saving you time without sacrificing quality.
Conclusion
Banana pudding is more than just a dessert—it’s a classic comfort food that brings people together with its irresistible combination of creamy layers, sweet bananas, and crunchy wafers. Whether you’re a beginner making it for the first time or a seasoned home cook exploring variations, this guide has equipped you with all the knowledge you need to create a perfect banana pudding.
From understanding the basics of ingredients and equipment to mastering step-by-step instructions, you’ve learned how to build this dessert from scratch or with convenient shortcuts like instant pudding mix. You’ve also discovered creative variations, such as no-bake, vegan, and caramel-infused versions, ensuring that banana pudding can be adapted for any occasion or dietary preference.
Additionally, avoiding common mistakes like uneven layering or premature browning of bananas guarantees a visually stunning and delicious result every time. Serving tips and storage solutions further enhance the experience, making it easier to prepare in advance or save leftovers without compromising quality.
This versatile dessert is not just easy to make but also customizable, allowing you to experiment with flavors, textures, and garnishes. Whether you opt for the traditional recipe or put your own twist on it, banana pudding is sure to delight everyone who tastes it.
So why wait? Gather your ingredients, grab your mixing bowl, and start layering your way to a dessert that’s as satisfying to make as it is to eat. Share it with loved ones, serve it at parties, or enjoy it as a comforting treat on a quiet evening. With this comprehensive guide, banana pudding is now a recipe you can confidently master and cherish.

