Introducing solid foods to your baby puree recipes is an exciting milestone, and making homemade baby purees is a fantastic way to ensure they receive the most nutritious start in life. Unlike store-bought options, homemade purees allow you to control the quality of ingredients, cater to your baby’s preferences, and experiment with flavors as they grow.
Introduction to Baby Purees
Making baby puree recipes at home is a fantastic way to provide your little one with nutritious and delicious meals tailored to their needs. These recipes allow you to explore a variety of flavors and ensure that your baby gets fresh and preservative-free foods.
- What Are Baby Purees? Baby purees are soft, smooth foods prepared specifically for infants. They’re easy to digest and often the first step in introducing your baby to solid foods. Purees are made by steaming, blending, or mashing ingredients to a fine texture.
- Benefits of Making Homemade Baby Purees Homemade purees are fresher, more nutritious, and free from preservatives. By preparing these meals at home, you can introduce your baby to a wide variety of flavors and nutrients, setting the foundation for healthy eating habits.
- Tips for Introducing New Foods to Your Baby When introducing purees to your baby, start with single-ingredient recipes to monitor for allergies. Gradually combine ingredients to add variety and flavor. Always consult your pediatrician before introducing solid foods.
Essential Tools for Preparing Baby Puree Recipes
Creating nutrient-dense baby purees starts with choosing the right ingredients. Focus on fresh, organic, and seasonal produce for optimal taste and nutrition.
- Best Fruits for Baby Purees Fruits like apples, bananas, pears, and peaches are perfect for purees. They’re naturally sweet and packed with vitamins essential for growth and development.
- Best Vegetables for Baby Purees Carrots, sweet potatoes, peas, and zucchini are excellent choices for vegetables. They’re soft when cooked and rich in key nutrients like vitamin A and fiber.
- Protein Additions As your baby grows, you can introduce proteins such as chicken, turkey, lentils, and beans. These are great sources of iron and promote healthy growth.
- Healthy Fats Incorporating healthy fats, such as avocado, coconut milk, or olive oil, helps in brain development and adds creamy texture to purees.
- Avoiding Harmful Ingredients Avoid ingredients like salt, sugar, and honey (before age 1) in baby purees, as they can be harmful to your baby’s health.
Tools and Equipment for Making Baby Puree Recipes

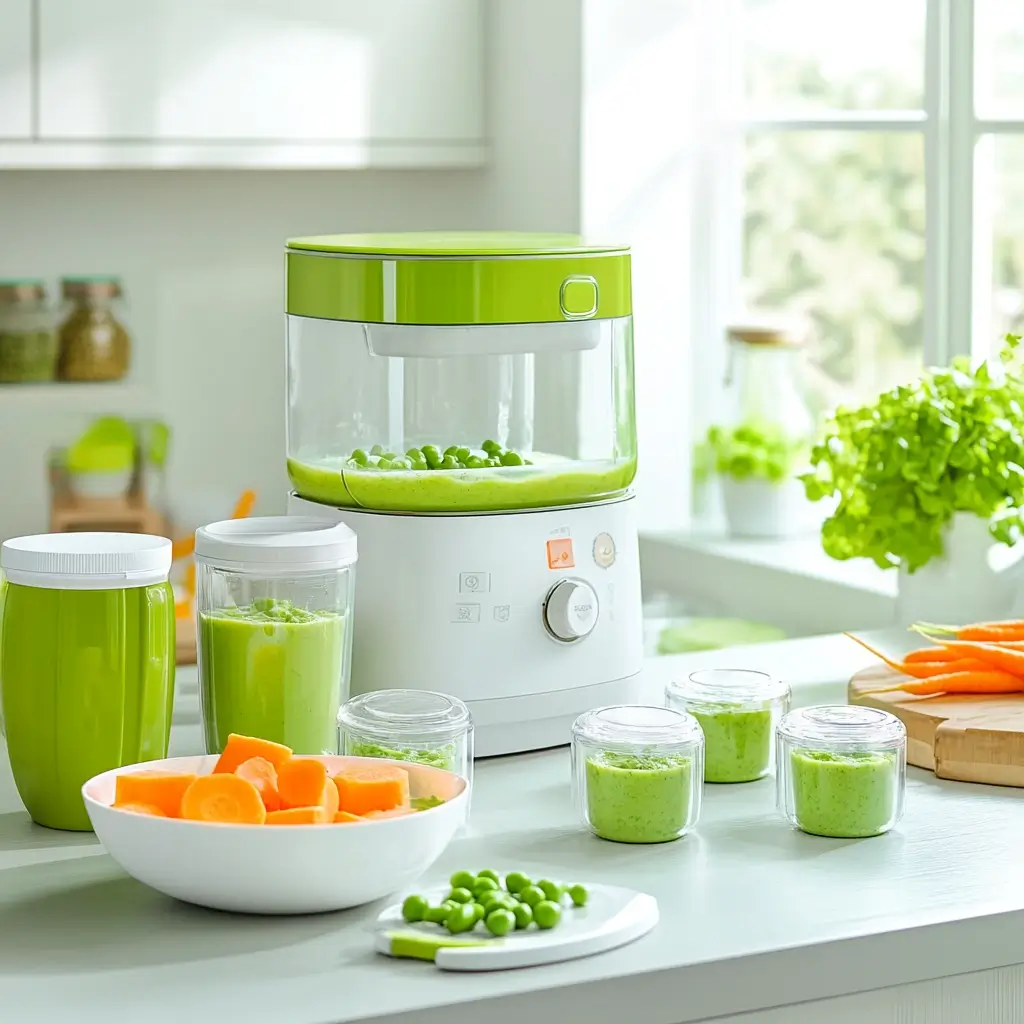
Preparing baby purees doesn’t require professional-grade kitchen equipment. With a few basic tools, you can create delicious, nutrient-packed meals for your little one. Here are the essentials:
Blender or Food Processor
A high-quality blender or food processor is a must-have for creating smooth and creamy purees. This tool ensures that the food reaches the right consistency for your baby’s age, whether you’re preparing a thin, liquid-like puree for a 4-month-old or a thicker consistency for older babies.
Steamer Basket or Pot for Cooking Vegetables
Steaming is one of the best cooking methods for baby food as it preserves nutrients better than boiling. A simple steamer basket placed inside a pot can help you cook vegetables like carrots, sweet potatoes, and zucchini while retaining their vibrant colors and essential vitamins.
Ice Cube Trays for Portioning and Freezing
Ice cube trays are perfect for portioning and freezing your homemade baby purees. Once frozen, the cubes can be stored in freezer-safe bags, allowing you to defrost only the amount needed for each meal. This method reduces waste and ensures you always have fresh purees on hand.
Storage Containers for Refrigeration and Travel
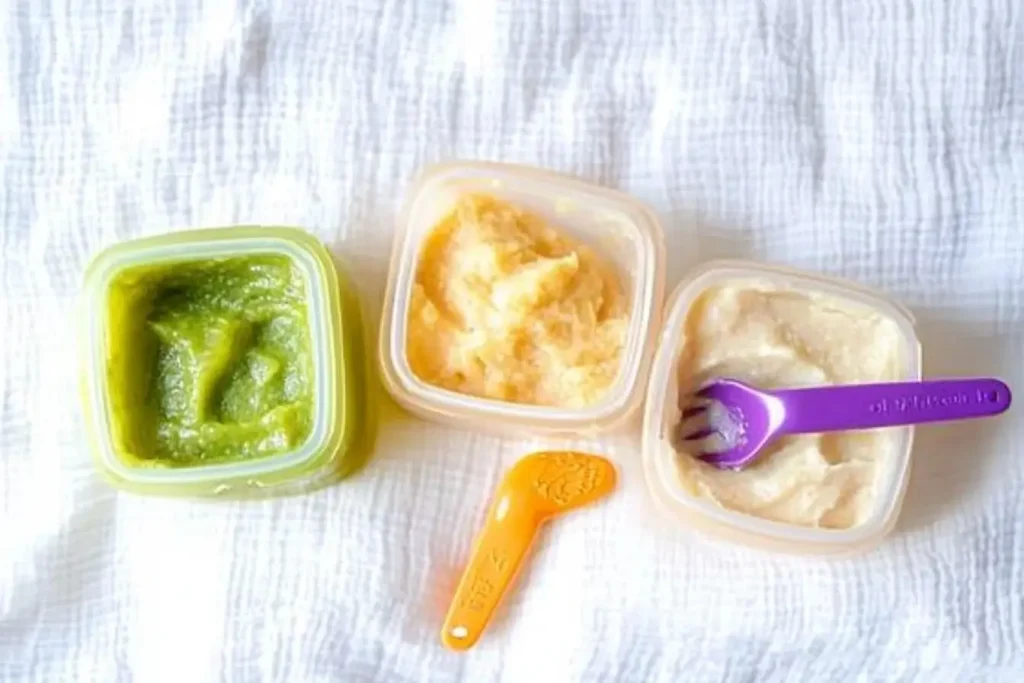
Invest in BPA-free, airtight containers for storing baby food in the refrigerator. These are essential for keeping purees fresh for up to 48 hours. For on-the-go feeding, smaller containers with secure lids are ideal.
Knife and Cutting Board
A sharp knife and a non-slip cutting board are necessary for safely and efficiently chopping fruits, vegetables, and proteins. Make sure to dedicate a separate cutting board for baby food to avoid cross-contamination.
Avoiding Harmful Ingredients and Tools
While preparing purees, avoid using tools or equipment that can introduce harmful substances. For instance, steer clear of aluminum cookware and opt for stainless steel or non-toxic alternatives.
Checklist for Beginners
Here’s a quick checklist to get you started:
- Blender or food processor
- Steamer basket or pot
- Ice cube trays for freezing
- BPA-free storage containers
- Knife and cutting board
With these tools, preparing baby purees becomes a hassle-free process. Once you’ve gathered your equipment, you’re ready to move on to creating stage-specific purees for your baby.
Stage 1 Baby Puree Recipes (4–6 Months): First Flavors
Start your baby’s solid food journey with simple and smooth baby puree recipes. Examples include apple puree, carrot puree, and avocado puree, which are perfect for introducing single flavors while monitoring for allergies.
Single-Ingredient Purees for Beginners
- Apple Puree: Instructions for Steaming and Blending
Apples are a fantastic first food for babies due to their natural sweetness and soft texture when cooked.- How to Prepare: Peel, core, and slice the apples. Steam them for about 10 minutes until soft, then blend into a smooth puree. Add a splash of water or breast milk to adjust the consistency.
- Carrot Puree: How to Achieve a Smooth Texture
Carrots are rich in vitamin A, making them a nutritious and colorful choice for your baby.- How to Prepare: Peel and chop the carrots. Steam or boil them until tender (approximately 15 minutes), then blend into a silky puree. Thin it out with water if needed.
- Avocado Puree: No-Cook, Instant Option
Avocado is packed with healthy fats and is one of the easiest purees to make.- How to Prepare: Simply scoop out the flesh of a ripe avocado and mash or blend it into a smooth puree. Add breast milk or formula for a creamier texture.
Tips for Preparing Stage 1 Purees
- Always start with a small amount (1–2 teaspoons) to allow your baby to adjust to the new texture and flavors.
- Use a fine-mesh strainer to remove any lumps for an ultra-smooth texture.
- Serve the puree fresh or refrigerate it in an airtight container for up to 48 hours.
Why Single-Ingredient Purees Are Important
At this stage, single-ingredient purees play a critical role in identifying any potential food allergies. By introducing one food at a time, you can easily detect and avoid problematic ingredients. It’s also a wonderful way to familiarize your baby with individual flavors before moving on to combinations
Stage 2 Baby Puree Recipes (6–8 Months)
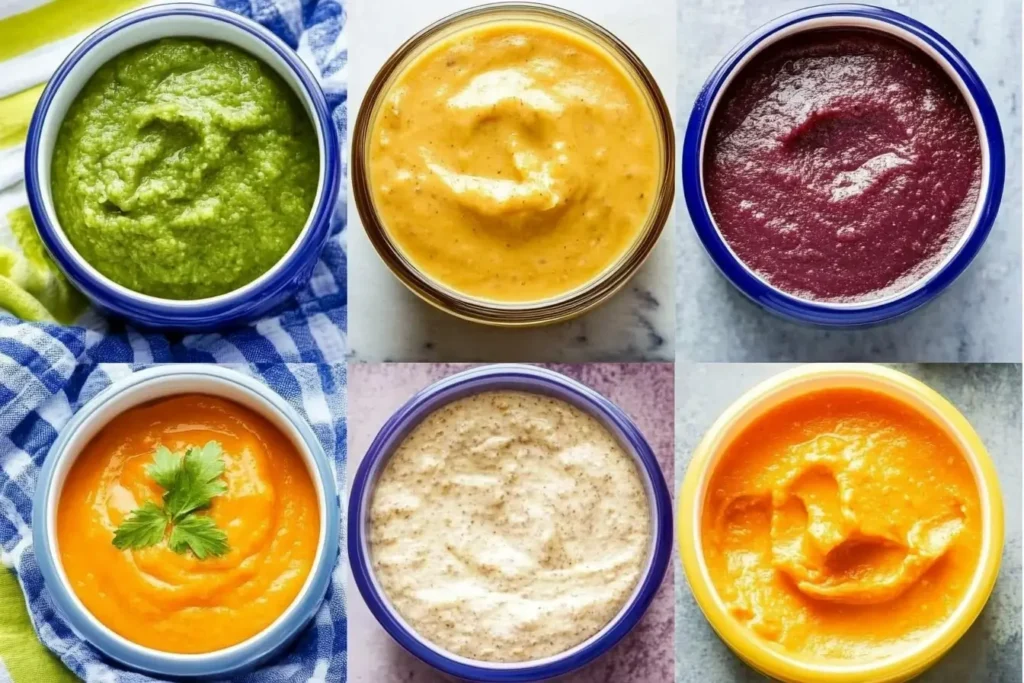
As your baby grows, baby puree recipes can evolve into combination meals. Carrot and pea puree or banana and avocado puree are popular choices. These recipes provide a balanced mix of nutrients and expand your baby’s palate.
Combination Purees for Added Variety
- Apple and Pear Puree
A naturally sweet and nutrient-rich combination, this puree is perfect for introducing your baby to new flavors.- How to Prepare: Peel, core, and chop apples and pears. Steam them together for 10–12 minutes, then blend into a smooth consistency.
- Carrot and Pea Puree
This colorful puree is packed with vitamins and fiber, making it a healthy choice.- How to Prepare: Steam peeled carrots and fresh peas until soft. Blend together, adding a little water or breast milk for the desired texture.
- Banana and Avocado Puree
A creamy and nutrient-dense combination, this puree provides healthy fats and potassium.- How to Prepare: Mash half a banana and half an avocado until smooth. For a thinner consistency, mix in breast milk or formula.
- Sweet Potato and Chicken Puree
This protein-packed option is perfect for babies who are ready to explore more savory flavors.- How to Prepare: Steam diced sweet potatoes and cooked chicken breast. Blend together until smooth, adding water or chicken broth to adjust the texture.
Adding Herbs and Mild Spices
Around this stage, you can start introducing mild herbs and spices to make your baby’s meals more flavorful. This helps expand their palate and prepares them for more complex flavors in the future.
- Pumpkin Puree with a Pinch of Cinnamon
Add a dash of ground cinnamon to pureed pumpkin for a warm, comforting flavor. - Zucchini and Basil Puree
Blend steamed zucchini with a fresh basil leaf for a subtle herbaceous note.
When introducing herbs and spices, use small amounts and avoid anything too strong or spicy. Always monitor your baby’s reaction to new ingredients.
Why Combination Purees Matter
Combination purees allow your baby to explore different tastes and textures while providing a balanced mix of nutrients. They also help transition your baby from single-ingredient purees to more complex meals as they grow.
Stage 3 Baby Puree Recipes (8–10 Months)
By the time your baby reaches 8–10 months, their taste preferences and chewing skills are developing rapidly. At this stage, you can introduce chunkier textures and more diverse ingredients to help prepare them for table foods.
Chunkier Textures for Practice Chewing
- Lentil and Vegetable Puree
A rich source of protein and fiber, lentils combined with vegetables make for a hearty and nutritious meal.- How to Prepare: Cook red lentils until soft. Steam vegetables such as carrots and zucchini. Mash or blend them together, leaving small chunks for texture.
- Broccoli, Cheese, and Potato Puree
This savory combination is packed with calcium, vitamins, and energy.- How to Prepare: Steam broccoli and potatoes until tender. Add a small amount of grated cheese and mash the mixture to a chunky consistency.
- Mango and Greek Yogurt Puree
A refreshing and calcium-rich option, this puree is ideal for a midday snack.- How to Prepare: Blend ripe mango with unsweetened Greek yogurt, leaving small chunks of mango for added texture.
- Chicken and Quinoa Puree
Protein-packed and full of healthy grains, this puree is a great way to introduce quinoa to your baby.- How to Prepare: Cook quinoa until soft and combine it with shredded cooked chicken. Add a splash of water or broth and mash to a chunky consistency.
Tips for Adjusting Textures
As your baby grows, gradually increase the texture of their purees to include soft lumps. This encourages them to practice chewing, even if they don’t have teeth yet. To adjust textures:
- Use a fork instead of a blender for mashing.
- Add less liquid to retain a thicker consistency.
- Offer finger foods alongside purees to help develop self-feeding skills.
Introducing New Textures in Baby Puree Recipes
At this stage, purees can be paired with soft finger foods such as:
- Small pieces of steamed vegetables (carrots, zucchini, or broccoli).
- Soft fruits like banana slices or peach chunks.
- Small pieces of scrambled eggs or toast.
Introducing finger foods alongside purees helps your baby explore different textures and promotes self-feeding.
Why Chunkier Purees Are Important
Chunkier purees not only prepare your baby for table foods but also play a vital role in their oral development. They encourage tongue movement and jaw strengthening, which are essential for chewing and speech development.
Tips for Preparing and Storing Baby Puree Recipes

When making baby puree recipes, it’s essential to use fresh, high-quality ingredients and follow proper storage practices. Freezing purees in portion sizes ensures you always have homemade meals ready for your baby.
How to Cook Fruits and Vegetables for Maximum Nutrition
Cooking fruits and vegetables correctly helps retain their nutrients while making them soft enough for purees. Here are the best cooking methods:
- Steaming: This is the most nutrient-preserving method and works well for vegetables like carrots, zucchini, and sweet potatoes.
- Roasting: Roasting enhances the natural sweetness of ingredients like pumpkin, butternut squash, and apples.
- Boiling: While boiling is convenient, it can cause some nutrient loss. To minimize this, use as little water as possible and save the cooking liquid to thin the puree.
Portion Sizes for Each Stage
- For Stage 1 (4–6 months), start with small portions (1–2 teaspoons) and gradually increase to 2–3 tablespoons as your baby adapts.
- By Stage 2 (6–8 months), your baby may eat up to 3–4 tablespoons per meal.
- For Stage 3 (8–10 months), portions can range from 1/4 to 1/2 cup, depending on your baby’s appetite.
Freezing purees in portion-sized quantities is an excellent way to save time. Use ice cube trays to freeze single portions, then transfer the cubes into freezer-safe bags for longer storage.
Safely Freezing and Thawing Purees
To maintain the quality and safety of your baby purees:
- Always freeze purees within 24 hours of preparation to lock in freshness.
- Label freezer bags or containers with the date to keep track of storage times. Most purees can be stored in the freezer for up to 3 months.
- Thaw purees overnight in the refrigerator or using a warm water bath. Avoid thawing at room temperature to prevent bacterial growth.
Best Practices for Reheating Purees
When reheating purees, ensure they reach a safe temperature before serving:
- Use a microwave or stovetop to warm the puree. Stir thoroughly to eliminate hot spots.
- Let the puree cool slightly and test the temperature before feeding your baby.
Organizing Your Meal Plan
Planning meals in advance makes feeding time less stressful:
- Dedicate one day a week to preparing and portioning purees.
- Rotate between different fruits, vegetables, and proteins to provide variety.
- Store a mix of single-ingredient and combination purees for flexibility during meals.
Why Proper Storage Matters
Storing purees safely ensures your baby enjoys fresh, nutrient-rich meals. Proper preparation and storage also save time, reduce waste, and allow you to focus more on your baby’s mealtime experience.
Variations and Customizations

One of the greatest benefits of preparing homemade baby purees is the ability to tailor recipes to your baby’s needs, preferences, and dietary requirements. By experimenting with variations and customizations, you can keep mealtime exciting and ensure your baby gets a well-rounded diet.
Adjusting Consistency with Breast Milk, Formula, or Water
As your baby grows, their ability to handle different textures improves. You can adjust the consistency of purees based on their age and preferences:
- Thinner Consistencies: For younger babies (4–6 months), add breast milk, formula, or cooled boiled water to achieve a smoother texture.
- Thicker Consistencies: As your baby gets older (6–10 months), reduce the amount of liquid to create chunkier purees that encourage chewing.
Using breast milk or formula not only adjusts the texture but also adds familiar flavors and extra nutrients.
Dairy-Free and Vegan Purees
For babies with dairy allergies or vegan diets, there are plenty of alternatives:
- Use coconut milk, almond milk (unsweetened), or oat milk to create creamy textures.
- Substitute cheese with nutritional yeast for a cheesy flavor in recipes like broccoli and potato puree.
- Incorporate plant-based protein sources such as lentils, beans, and chickpeas.
Allergen Introduction Tips
Introducing potential allergens early, as recommended by pediatricians, can help reduce the risk of allergies. Common allergens include:
- Peanut Butter: Mix a small amount of smooth, unsalted peanut butter into a fruit puree like banana or apple.
- Eggs: Add soft, scrambled eggs into a vegetable puree like zucchini or sweet potato.
Always introduce allergens one at a time and in small quantities while monitoring for any adverse reactions.
Flavor Boosters
Adding mild herbs and spices to purees introduces your baby to diverse flavors and expands their palate. Try these gentle additions:
- Cinnamon: Adds warmth and sweetness to fruit purees like apple or pumpkin.
- Basil or Parsley: Enhances vegetable-based purees such as zucchini or carrot.
- Ginger: Adds a subtle zing to fruit combinations like pear and peach.
Avoid spicy or strong flavors that may overwhelm your baby’s developing taste buds.
Creating Unique Flavor Combinations
Once your baby is comfortable with individual ingredients, experiment with creative combinations to make meals more interesting. Examples include:
- Pear, spinach, and quinoa for a nutrient-packed mix.
- Banana, avocado, and yogurt for a creamy, dessert-like treat.
- Lentils, carrots, and turmeric for a savory, protein-rich puree.
Why Customization Matters
Every baby is unique, and customizing purees allows you to cater to their specific needs. By experimenting with textures, flavors, and ingredients, you can create meals that your baby will love while supporting their growth and development.
FAQs About Baby Puree Recipes
Here are answers to some of the most commonly asked questions about baby purees to help guide you through this exciting stage of your baby’s development:
What are the best foods for baby puree recipes?
The best foods include fruits like bananas, apples, and pears, and vegetables like carrots and sweet potatoes.
What can I do with leftover baby puree recipes?
Use leftover purees in creative ways, such as mixing them with yogurt, oatmeal, or rice cereal.
What is the 3-day rule for baby food?
The 3-day rule involves introducing one new food at a time and waiting three days before trying another. This method allows you to monitor your baby for any allergic reactions or sensitivities to the new food. It’s especially important when introducing common allergens like dairy, eggs, or nuts.
What are the best first homemade purees for babies?
The best first purees include single-ingredient options such as:
- Apple puree: Naturally sweet and smooth.
- Carrot puree: Packed with vitamin A.
- Sweet potato puree: Creamy and nutrient-dense.
- Avocado puree: Full of healthy fats for brain development.
These options are simple, nutritious, and easy to digest for young babies just starting solids.
Final Tips
Always consult with your pediatrician before introducing new foods, especially if your baby has a family history of allergies. Make feeding a stress-free experience by following your baby’s cues and letting them explore flavors and textures at their own pace.
Conclusion
Preparing homemade baby purees is a wonderful way to give your baby the best possible start in their journey with solid foods. By using fresh, high-quality ingredients, experimenting with flavors, and tailoring textures to their developmental stage, you can nurture a love for healthy eating from the very beginning.
Not only is making baby purees at home cost-effective, but it also allows you to ensure that every bite your baby takes is packed with nutrients and free from additives or preservatives. As you progress through the stages—from single-ingredient purees to chunkier, combination options—each step helps prepare your little one for table foods and fosters essential skills like chewing and self-feeding.
Remember, feeding your baby is about more than just nutrition. It’s an opportunity to bond, create lasting memories, and set the foundation for a lifetime of healthy eating habits. Enjoy the journey, and celebrate every little milestone along the way!
Explore More Delicious Recipes
Looking for more healthy and easy meal ideas? These recipes are perfect for nutritious eating at any stage:
- Refreshing Healthy Chia Water Recipe – A light and hydrating drink packed with nutrients.
- Gluten-Free Biscuit Recipe – A healthy and delicious option for little ones transitioning to solid foods.
- Vegan Chinese Kabocha Squash Recipes – A plant-based dish full of vitamins and minerals.

